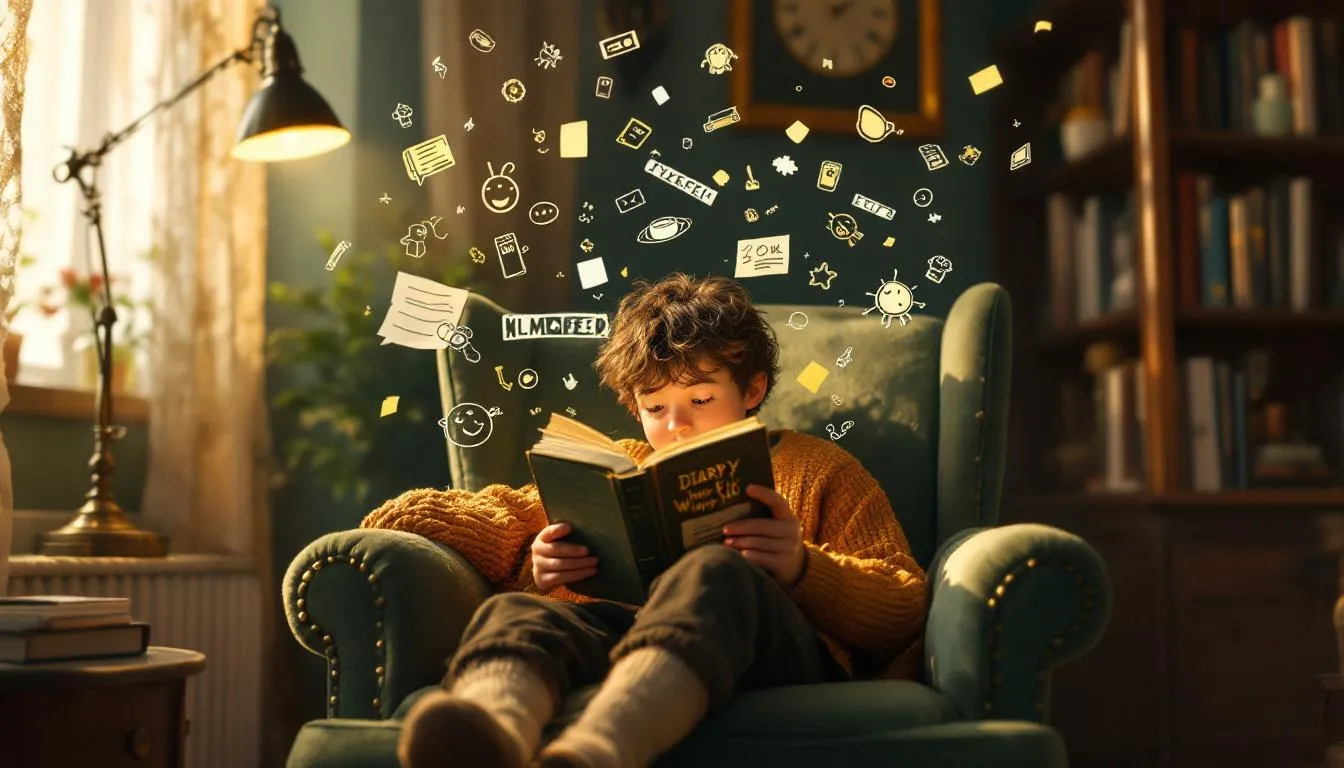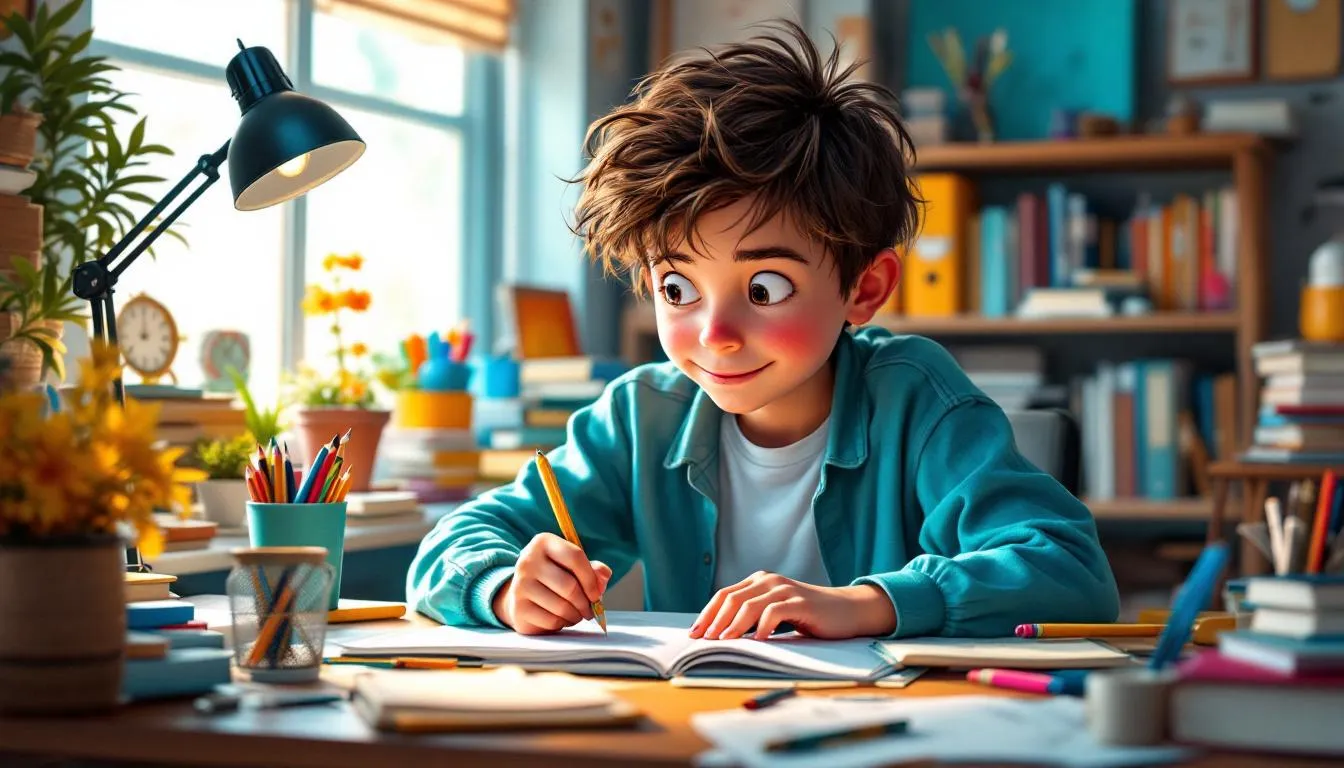
Creating a ‘Wimpy Kid’ DIY book is a fantastic way for young authors to explore storytelling and illustration, inspired by Jeff Kinney’s beloved series. This creative project involves crafting a personalized narrative filled with humor, relatable characters, and simple yet expressive drawings.
Table of Contents
Quick Answer
To make your own ‘Wimpy Kid’ book, focus on developing quirky stories with engaging illustrations, keeping your project private and personal.
Understanding the unique elements that define the ‘Wimpy Kid’ style can serve as an exciting springboard for your creativity.
What Makes the ‘Wimpy Kid’ Style Unique?
The charm of the ‘Wimpy Kid’ series lies in its unique blend of humor and simplicity. Jeff Kinney’s books have captivated young readers worldwide due to their relatable characters and hilariously exaggerated everyday scenarios. The stories unfold through the eyes of Greg Heffley, the quirky protagonist, who navigates middle school with wit and awkwardness that resonate with young readers.
Characteristics that Define the Series:
- Humor and Diary Format: The ‘Wimpy Kid’ series is essentially a diary filled with Greg’s personal thoughts and misadventures. This format allows for a conversational style that feels intimate and engaging. The humor is often self-deprecating, offering clever twists on the mundane that leave readers chuckling.
- Relatable Themes: The themes, from dealing with annoying siblings to navigating tricky friendships, are universal. Even as an adult, I find myself reminiscing about my own school days, laughing at how some things never change.
- Illustrations and Writing Style: Kinney’s books are renowned for their handwritten text paired with simple line drawings. These illustrations are integral to the storytelling. The simplicity makes it accessible, encouraging young authors to draw without feeling intimidated.
Emulating this style can be a fun and rewarding exercise for young creators. With just a pen, paper, and your imagination, you can kick-start your own ‘Wimpy Kid’-inspired creation. Whether chronicling the hilarity of your own life or inventing a new world, your DIY book is a canvas for creativity.
How to Start Your DIY ‘Wimpy Kid’ Book?
Starting your ‘Wimpy Kid’ DIY book adventure begins with creating your main character. Think of your main character as the heart of your story. They are the lens through which your readers will experience the world you’ve crafted. When I first started writing stories, I often drew inspiration from people around me—friends, family, or even my quirky neighbor who always wore mismatched socks.
Your protagonist should be relatable, with qualities that readers can identify with or find intriguing. Maybe they’re clumsy, like Greg Heffley, or have a knack for getting into trouble despite the best intentions. The key is to make them human, with flaws, dreams, and a unique perspective on life.
Once you’ve settled on your protagonist, it’s time to develop a storyline. Consider the hilarious or awkward situations your character might encounter. Perhaps they’re navigating the minefield of middle school, trying to win a talent show, or simply surviving a family road trip. The possibilities are endless!
To structure your story, break it down into a beginning, middle, and end:
- Beginning: Introduce your character and set the stage for their adventures.
- Middle: Present the conflict or funny mishaps that drive the story forward.
- End: Resolve the conflict, allowing your character to learn something new or find a humorous conclusion.
Once you’ve laid the groundwork for your story, you can begin to visualize it. Next, we’ll explore the art of bringing your narrative to life with illustrations, where your story truly starts to jump off the page.
How to Illustrate Like ‘Wimpy Kid’?
Illustrating like a ‘Wimpy Kid’ is about embracing simplicity and letting humor shine through. You don’t need to be a professional artist to capture Jeff Kinney’s style, and that’s what makes it so appealing, especially for young authors.
Basics of Drawing Simple Characters
Start with basic shapes. The characters in ‘Wimpy Kid’ are typically drawn with simple lines and circles. Think of the head as a circle or oval, and use stick figures to sketch the body. This approach keeps things straightforward, allowing your creativity to focus on expressions and poses rather than intricate details.
Step-by-Step Guide to Drawing Like Jeff Kinney
- Sketch the Head and Body: Begin with an oval for the head and a stick figure outline for the body. This helps maintain proportions.
- Add Facial Features: Use dots for eyes and a simple curved line for the mouth. Eyebrows and squiggly lines can add tons of personality.
- Draw the Hair and Clothes: Keep hair and clothing minimalistic. A few lines or scribbles are enough to suggest styles or textures.
- Finalize with Details: Add quirky details that define your character, like glasses or a favorite T-shirt.
Adding Humor Through Illustrations
Humor is the heart of the ‘Wimpy Kid’ series, and your illustrations should reflect that. Exaggerated expressions and awkward poses are great tools. Imagine your character tripping over a banana peel or discovering mismatched socks—these visual jokes can be the highlight of your book.
Techniques for Visual Jokes and Expressions
- Exaggerate Emotions: Think of cartoon expressions—big eyes for surprise, slanted eyebrows for confusion.
- Use Props: A comically large backpack or a tiny umbrella can add a humorous twist.
- Situational Humor: Illustrate funny scenarios that complement the story, like a character lost in a sea of homework.
Illustrations not only complement the text but often tell their own story, adding depth and humor to your narrative. As you dive into these creative endeavors, remember to cherish the personal nature of your project, ensuring it remains a private, cherished creation.
How to Keep Your Project Private?
When crafting a personal project like your ‘Wimpy Kid’ book, maintaining privacy is crucial. This isn’t just about safeguarding your work, but also about nurturing a creative space where you can express yourself freely. Think of it as a diary—your private adventure, with you deciding who shares in it.
Here’s how to keep your DIY masterpiece under wraps:
- Safe Storage: Use a dedicated folder or box for your book. I remember using an old cereal box wrapped in colorful paper to hide my childhood doodles—effective and quirky!
- Digital Copies: If you’re going digital, consider password-protecting your files or using secure cloud storage. It’s like having a digital lock and key.
- Journal Apps: For those who prefer typing their stories, apps with privacy settings are great. They allow you to write and illustrate digitally while keeping everything under your control.
- Sharing Selectively: Sharing your creation is a personal choice. Start with trusted friends or family who will appreciate your effort and provide constructive feedback. Their encouragement can be invaluable.
These steps ensure your project remains a treasured secret until you’re ready to unveil it. As you prepare to bring your creation to life, consider the materials and tools that will help you capture your imagination on paper or screen.
What Tools and Materials Do You Need?
When you’re ready to embark on your ‘Wimpy Kid’ DIY book journey, having the right tools and materials can make the creative process smoother and more enjoyable. Let’s explore the essentials and some optional tools that can add a digital flair to your project.
Essential Supplies:
- Notebooks: A sturdy notebook is your canvas. Choose one that you feel comfortable writing and drawing in. Personally, I love using classic composition notebooks with wide lines, as they remind me of school days and have plenty of space for doodles.
- Pencils and Pens: Keep a selection of pencils and pens on hand. Pencils are perfect for sketching and erasing mistakes. Pens, especially gel pens or fine liners, add permanence to your final illustrations and text, giving it that authentic ‘Wimpy Kid’ feel. I always carry a mechanical pencil for crisp lines and a trusty black pen for final touches.
Optional Tools:
- Digital Drawing Apps and Software: If you’re tech-savvy or curious about digital art, consider exploring digital drawing apps. Tools like Procreate or Adobe Fresco offer endless possibilities for creating and editing your illustrations. They provide layers, brushes, and effects that can bring a professional touch to your DIY book. I’ve found these apps incredibly fun, especially when experimenting with colors and effects not achievable on paper. For those looking for a different kind of personalized storytelling experience, consider exploring platforms like KidTeller. KidTeller creates a personalized storybook where your child is the hero. Just upload a photo, and we’ll generate a custom book filled with adventures made especially for your toddler or young child – magical, memorable, and uniquely theirs.
Whether you stick to traditional methods or venture into the digital realm, the key is to choose tools that inspire you and make the storytelling process enjoyable. Once you have your tools ready, the next step is refining your story and illustrations to ensure they shine.
How to Edit and Finalize Your Book?
Editing and finalizing your ‘Wimpy Kid’ DIY book is a rewarding part of the creative journey, where your ideas come together into a polished piece. This phase is like putting the final touches on a cake—those little tweaks that make it perfect.
First, review and revise your story. Read through your narrative to see if it flows naturally and keeps readers engaged. I remember reading my first story aloud to my pet cat, who, although non-verbal, was a fantastic listener. This helped me spot clunky sentences and plot holes. Focus on:
- Clarity: Ensure your story is easy to follow.
- Consistency: Check that your characters’ actions and motivations make sense throughout.
- Pacing: Balance action, dialogue, and description to maintain momentum.
Next, move on to finalizing your illustrations. This is your chance to enhance your drawings with details that add personality. My trick is to use colored pencils or markers to brighten key elements, like a character’s signature red cap or a hilarious scene. Consider:
- Adding Shadows: Simple shading can add depth.
- Enhancing Expressions: A well-placed eyebrow or crooked smile can say a lot.
- Highlighting Key Scenes: Use color sparingly for impact.
Finally, create a captivating cover page. This is the face of your book, so let it reflect the story within. Use bold letters for the title and incorporate an illustration that hints at the adventure inside. I once crafted a cover with an oversized chicken chasing my protagonist—unexpected and eye-catching!
Once your book is ready, think about the key takeaways from this creative experience. They can guide you in future projects and inspire others to dive into their own storytelling adventures.
Key Takeaways
- Crafting a ‘Wimpy Kid’ book offers a personalized and imaginative experience for young authors.
- Emphasize storytelling with engaging characters and humor, complemented by simple but expressive illustrations.
- Use basic tools like notebooks and pens; consider digital options for added creativity.
- Keep your project private, treating it as a personal diary until you’re ready to share.
- Regularly review and refine your work for clarity, consistency, and engagement.
Unleash your creativity and let your imagination lead you on a fun-filled adventure in storytelling!