Table of Contents
Introduction to DIY Bookmarks
Reading opens a magical gateway, sparking curiosity and imagination in kids. I fondly recall my childhood adventures in faraway lands with heroic characters. Crafting bookmarks enhances this journey, making reading a personal experience. It’s more than fun; it fosters creativity and builds skills and memories. Ready to dive into this creative world? Let’s gather our materials and embark on this exciting adventure!
Materials and Tools Needed
Before we unleash our creativity, let’s gather the essential materials and tools for crafting these delightful bookmarks. You might be surprised at how much you already have at home!
Basic Craft Supplies
Every craft session begins with essentials like colorful construction paper, scissors, glue sticks, and markers. These are the backbone of any crafting project. But don’t stop there! Get creative with embellishments like stickers, washi tape, and buttons. I once discovered an old box of buttons at a garage sale, and they became the stars of our bookmark crafts, adding a unique touch to each creation.
Googly eyes are another fun addition kids love! You’d be amazed at how a simple pair of googly eyes can transform paper into a quirky character. If you’re feeling adventurous, grab some glitter. Just remember, a little goes a long way unless you’re prepared for a sparkly explosion (trust me, I’ve been there!).
Safety Tips for Crafting with Kids
Safety first! When crafting with little ones, ensure scissors are age-appropriate—consider using safety scissors for younger children. Keep an eye on smaller items that could become choking hazards. Glue sticks are generally safer and less messy than liquid glue, which is vital unless you’re ready to re-glue your living room.
With our craft kits ready, we’re set to create our first bookmark masterpiece. Starting with simple materials, like paper, can yield surprising results. Let’s see how we can transform everyday paper into something truly special.
Simple Paper Bookmarks
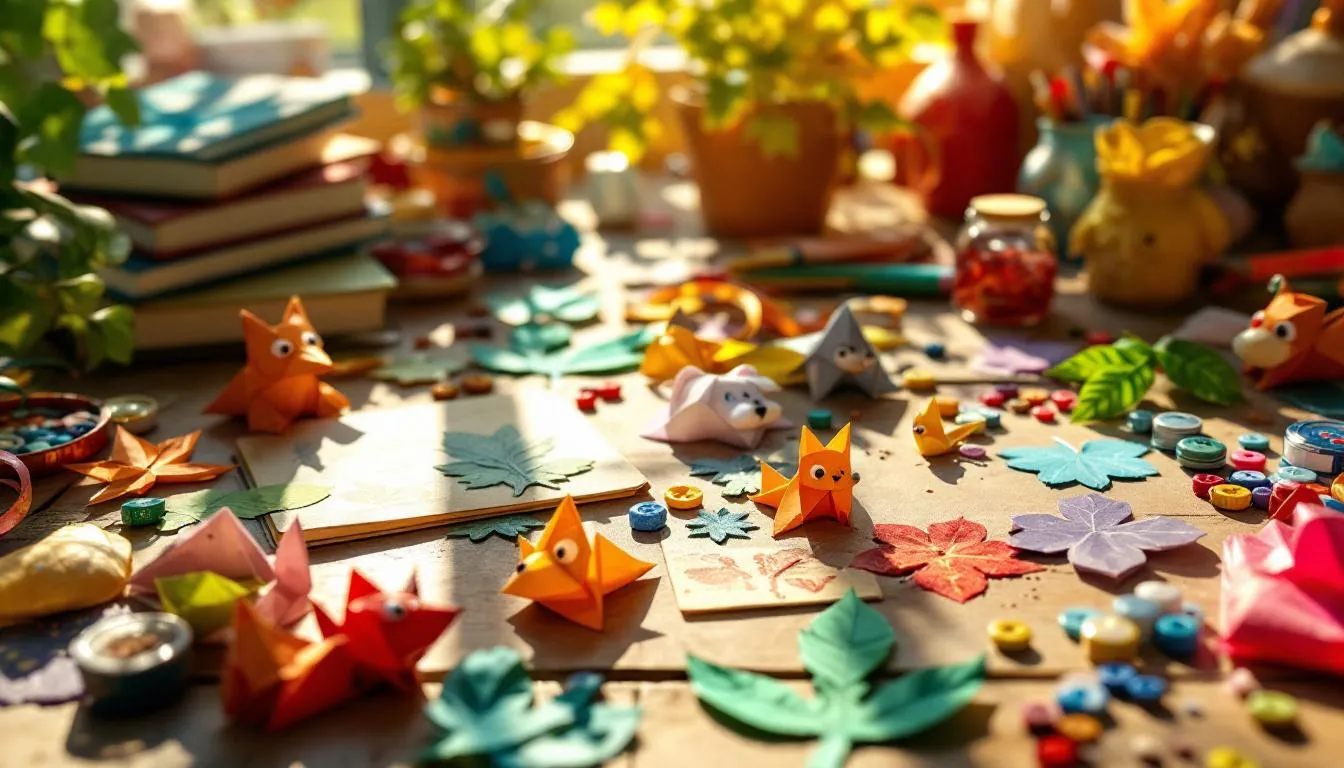
Origami corner bookmarks are a delightful starting point! These little corner critters mark pages and bring a smile to your child’s face every time they open their book. Crafting them is a breeze. Begin by cutting a square piece of paper—about 6 inches should do. Fold it into a triangle, then fold the two corners up to meet the top. Voila! You have the base of your bookmark.
Now, let your child’s imagination run wild. They can transform their origami corners into animals, monsters, or even characters from their favorite stories. I remember helping my daughter make a whole zoo of bookmarks. Her favorite was an adorable panda that seemed to wink every time she picked up her book. Add googly eyes or draw on little noses and mouths to give them personality.
Decorated strip bookmarks offer another canvas for creativity. Simply cut strips of construction paper or cardstock—about 2 inches wide and 6 inches long. Encourage kids to decorate these strips with stickers, drawings, or simple stamped patterns. My son once made a striped bookmark for each of his friends, using their favorite colors and writing their names in glitter pen for a personal touch.
As your children explore these creative avenues, they’ll discover the joy of seeing their artwork nestled between pages. And speaking of inspiration, sometimes the best ideas come from the world around us…
Nature-Inspired Bookmarks
A stroll through the park or a hike in the woods can inspire our next creative bookmark project. Nature offers beautiful materials—completely free of charge! One of my favorite projects to do with kids is creating leaf print bookmarks. It’s a simple yet captivating way to incorporate the outdoors into their reading adventures.
Start by collecting a variety of leaves—different shapes and sizes make for interesting prints. Place a piece of white paper over a leaf and use a crayon to rub over the top. The leaf’s intricate veins and outlines will magically appear. Once you’ve created a beautiful array of leaf rubbings, cut them into bookmark-sized strips and consider laminating them for durability. My son loved using bright autumn leaves for this project, creating bookmarks that looked like little pieces of fall captured in time.
Another enchanting project is making flower petal laminate bookmarks. This activity resembles pressing flowers with a twist. Collect colorful petals from flowers—daisies, pansies, and buttercups work wonderfully. Arrange the petals between two sheets of wax paper and iron them on a low setting to seal them in. The result is a stunning bookmark that’s both delicate and durable, preserving a little piece of nature’s beauty. I have a bookmark with lilac petals from my garden, and it never fails to remind me of spring.
These nature-inspired bookmarks ignite creativity and encourage children to appreciate the beauty around them. As we continue this journey of creativity, let’s explore another way to make bookmarks personal and memorable…
Personalized Photo Bookmarks
Imagine turning your child’s favorite memories into a bookmark that holds their place in a book and in their heart. Personalized photo bookmarks are a fantastic way to do just that. Start by selecting a few cherished photos—ones that bring a smile to your child’s face. Think about a silly face they made at the zoo or a victorious moment at their last soccer game. These personal snapshots add a unique touch to their reading experience.
To create these photographic keepsakes, print wallet-sized photos and attach them to sturdy cardstock. You can punch a hole at the top and add a ribbon for a classic bookmark look. This simple activity transforms ordinary photos into extraordinary keepsakes. I once helped my niece make a bookmark with a picture of her holding a giant ice cream cone, and she giggled every time she saw it peeking out from her book.
But why stop there? Adding personal flair with stickers and markers can really make these bookmarks pop. Let your child use stickers of their favorite characters or themes to embellish the edges. Encourage them to write quirky captions or doodle around the photos. My son decorated his bookmarks with superhero stickers and drew little speech bubbles. The result was a bookmark as fun as the books he was reading.
This personalized approach not only enhances creativity but also strengthens the emotional connection to books and the memories captured within the bookmarks. As we explore different materials and textures, let’s not forget the tactile delight of fabric and ribbons…
Fabric and Ribbon Bookmarks
Let’s dive into the world of fabric and ribbon, where texture meets creativity! Fabric bookmarks are a tactile treat and a fantastic way to introduce kids to simple sewing techniques. If you have an old shirt with a fun pattern or some leftover fabric scraps, you’re halfway there. Cut the fabric into rectangles, about 2 inches by 6 inches, and encourage your child to decorate them with fabric markers or sew on patches. If sewing is new to them, this is a great starter project.
Using a basic running stitch, help your little one sew around the edges of the fabric for a polished look. I remember when my daughter made her first sewn bookmark; she was so proud, and it quickly became her favorite bedtime story companion. These bookmarks can be as simple or elaborate as your child desires, offering a wonderful introduction to sewing in a practical and fun manner.
Not all projects need a needle and thread, though. No-sew ribbon bookmarks are another enchanting option that can be whipped up in no time. Choose a selection of colorful ribbons—grosgrain or satin work beautifully. Cut the ribbons to a length that suits your child’s books, typically around 8-10 inches. Simply tie a knot at each end or add a charm or bead for a bit of pizzazz. These bookmarks are perfect for little hands and make fantastic gifts, too. My son loves gifting his ribbon creations to friends, each one personalized to their favorite colors or themes.
Fabric and ribbon bookmarks invite kids to explore textures and colors, creating a sensory reading experience. As we open the door to even more creative possibilities, a whole world of interactive and themed bookmarks awaits…
Interactive and Themed Bookmarks
Interactive and themed bookmarks add a new layer of fun and engagement to reading, turning each session into an adventure. One delightful approach is creating character cut-out bookmarks, transforming beloved storybook characters into personal reading companions. All you need is some sturdy cardstock and a bit of imagination. Let your kids choose their favorite character—be it a whimsical wizard, a daring pirate, or a cheeky monkey.
Draw or print a picture of the character, making sure it’s about 4-6 inches tall. Cut around the character, leaving a tab at the bottom to tuck into the book’s pages. My daughter once made a bookmark of her favorite book character, a little owl. With googly eyes and a few colored feathers, it became a whimsical friend peeking out from her book.
Puzzle and game bookmarks offer another fantastic way to make reading interactive. These bookmarks double as mini challenges that keep kids entertained even after they close their books. Create a simple crossword or word search on a strip of cardstock, tailored to the book’s theme or your child’s interests. My son loves dinosaurs, so we made a dinosaur-themed word search bookmark. Each time he read a chapter, he’d search for a few words. It was a delightful way to keep him engaged and excited about turning the pages.
As we weave creativity into reading, these interactive bookmarks offer a playful twist, fostering a deeper connection with books. Next, let’s explore how these creative bookmarks can be part of a larger strategy to encourage a lifelong love of reading in children.
Encouraging Reading with Bookmarks
Bookmarks can be a delightful tool in encouraging reading and making it a cherished routine for kids. By incorporating bookmarks into reading time, we create small rituals that spark excitement. Imagine setting aside a special time each day where your child gets to choose their favorite bookmark. This selection process not only builds anticipation but also gives them a sense of ownership over their reading journey. I remember my daughter’s bedtime reading ritual; she would line up her bookmarks and decide which one would accompany her on her nightly adventure. It became a lovely way to wind down and transition into reading mode.
Bookmarks can also be part of a reward system that encourages consistent reading. Consider creating a bookmark collecting challenge. Each time your child finishes a book, they earn a new bookmark. You can make a special display board in their room to showcase their growing collection. My son loved this idea; he viewed each bookmark as a badge of honor, proudly displaying them as he conquered book after book. It’s a tangible way to celebrate their achievements and motivate them to explore more stories.
As we think about the potential of bookmarks to inspire young readers, it’s clear they offer much more than just a practical use. They become treasured companions on a child’s literary journey, adding joy and creativity to every page turned. With this thought, we can reflect on how simple crafts can have a profound impact on nurturing a love of reading.
Conclusion
Crafting DIY bookmarks with kids is about more than creating pretty placeholders; it’s an adventure in creativity, learning, and bonding. Each bookmark, whether a quirky corner critter or a nature-inspired masterpiece, is a testament to a child’s imagination and the joy of reading. These crafts are fun and pivotal in fostering a lifelong love of books. So, gather your materials, ignite your child’s creativity, and embark on this delightful journey. Who knows? The next great adventure might just be waiting on the very next page.